The benefits of Soaking and Sprouting (plus a Sprouted chickpea hummus recipe)
[fb_button]
May 2014
The benefits of Soaking and Sprouting
If you’re like a lot of my patients then eating legumes is a quick trip to farty-bloat-land. Thankfully, there is a way to get around this dilemma – it requires a bit of time, but I think it’s a really fun little process, and there’s all sorts of other benefits with it too!
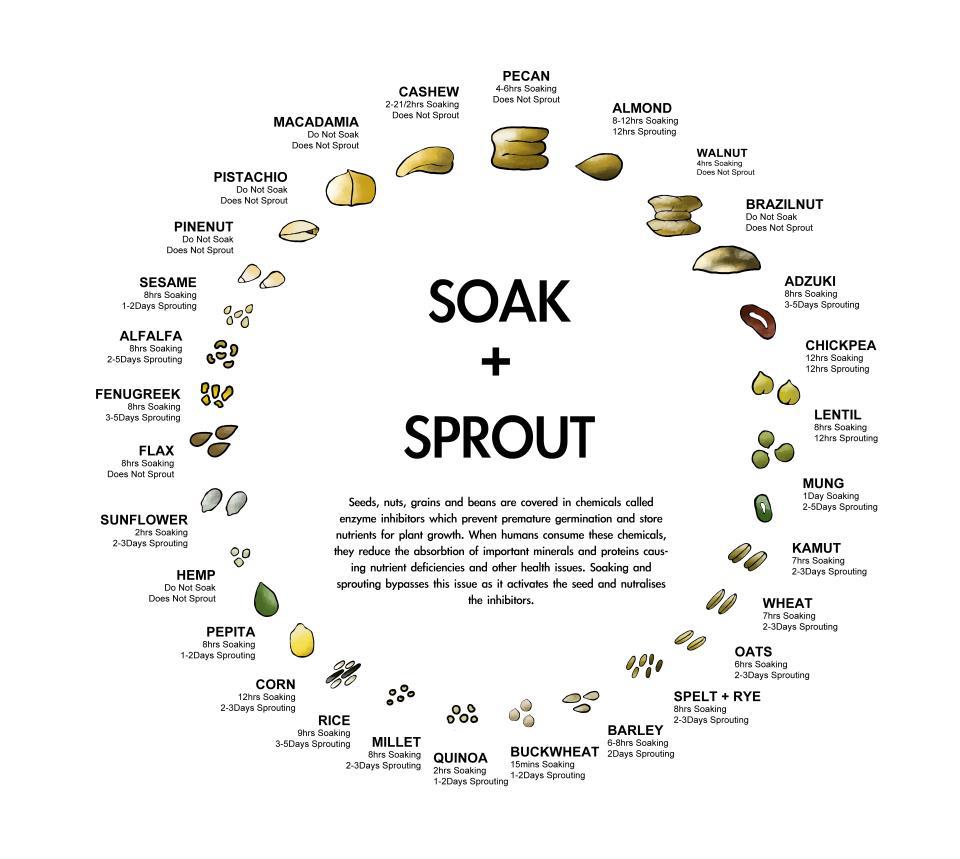
Soaking and sprouting is a process that breaks down enzymes and chemicals in grains and legumes which are hard on our digestive system, and makes vitamins in these foods more bioavailable.
About the soaking
Soaking grains and legumes helps to break down a chemical called phytic acid, which binds to a lot of minerals, reducing our ability to absorb them. Grains also contain certain enzymes which are designed to prevent themselves from being fully digested, to enable them to be eaten and then relocated (if you know what I mean) to continue their own life cycle, as well as ensuring that they have the right conditions for growth. These enzymes interfere with the body’s normal digestion process, and as a result can cause digestive symptoms such as bloating, discomfort, flatulence and changes in bowel movements. Soaking the grains and legumes for a period of time allows these enzymes to be reduced, so that we can digest them more effectively, getting the benefit of a happier digestive system and more nutrients.
You can get away with just soaking grains and legumes, in fact I often just do this because of time restraints. Sprouting as you’ll see further down is an extra bonus step which enhances all the benefits of soaking, as well as some other goodies.
Sally Fallon’s Basic Chickpea Recipe (from her book Nourishing Traditions, pg. 505)
- 1 cup dried chickpeas
- warm filtered water
- 2 tbsp. whey or lemon juice
- 1 tsp. sea salt
Cover the chickpeas with warm water and stir in whey or lemon juice. Leave, covered, in a warm spot for 24 hours. Drain the chickpeas and remove the skins. Transfer to a large pot and add salt and water to cover. Bring to a boil, skimming any foam that rises. Cover and simmer 6 hours or until very tender. Drain.
About the sprouting
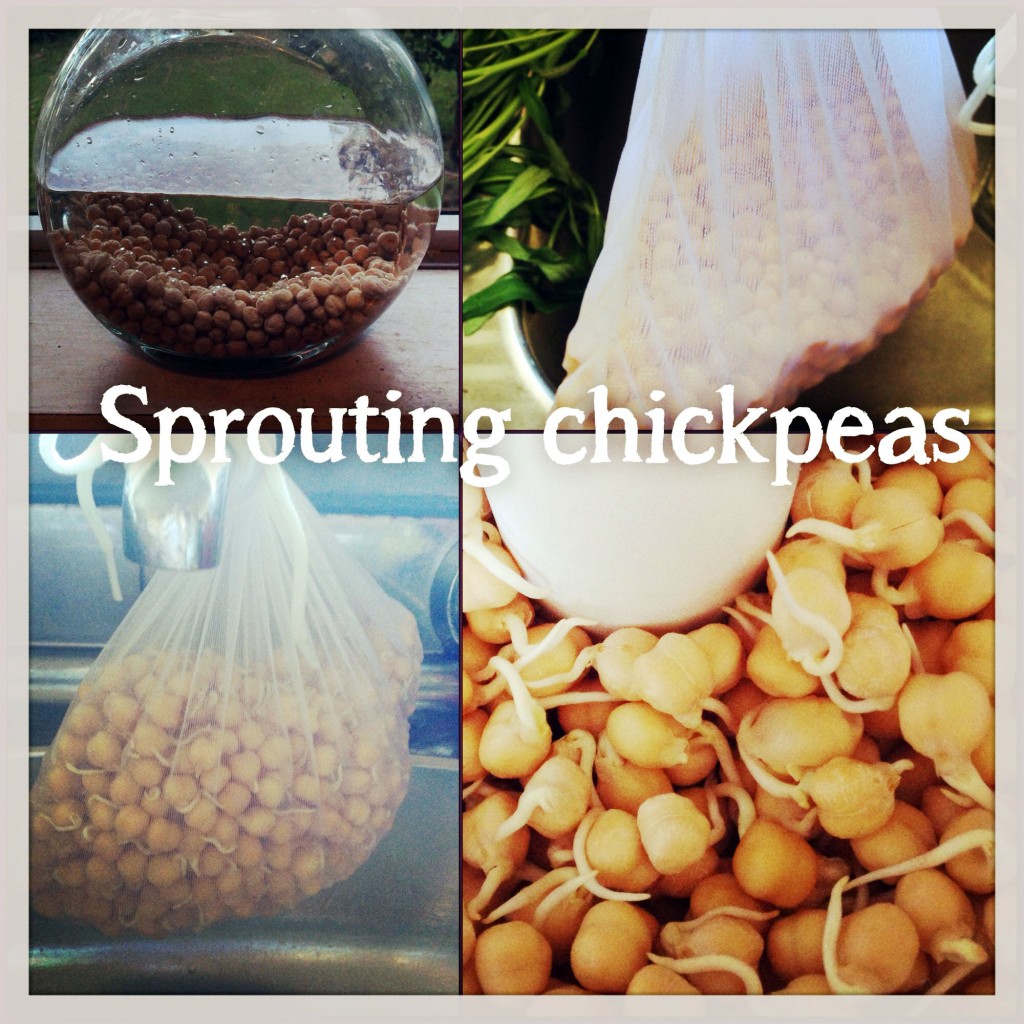
After draining and rinsing the soaked legumes, you can then choose to sprout them. To do this, all you need to do is sit them in a metal colander or a muslin bag (such as an almond milk bag, which is what I use) and leave for about 24 hours (depending on what you’re sprouting), rinsing a few times in the process (more frequently during summer).

Benefits of sprouting:
- The macronutrient profile changes slightly, with the proteins breaking down into smaller amino acid chains (making it easier to digest) and the complex sugars also break down (making it much kinder on our digestive system).
- Aflatoxins, a carcinogenic compound are also broken down by sprouting – winner!
- Vitamin C is actually created in the germination process, and other nutrients such as B vitamins and carotene are increased.
- Sprouting makes the grains and legumes more alkalizing.
It’s quite fun to watch the sprouting process happen, and even more fun realising that you can now eat foods which previously gave you an upset tummy.

Sprouted Chickpea hummus
Preparing the chickpeas
- 1 cup dried chickpeas
- warm filtered water
- 2 tbsp. whey or lemon juice
- 1 tsp. sea salt
Cover the chickpeas with warm water and stir in whey or lemon juice. Leave, covered, in a warm spot for 24 hours.
Drain the chickpeas and rinse well, then allow them to sit for 12-24 hours in a colander or muslin bag, until sprouted. Rinse 2-3 times during this process.
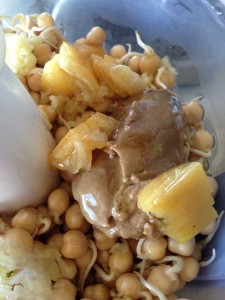
Steam or boil the chickpeas until tender, and drain (to make the chickpeas smoother avoid adding salt to the water).
Making the hummus
- 2 cups cooked chickpeas
- 3 garlic cloves, crushed
- 100ml olive oil
- 2 tablespoons unhulled tahini
- 1 teaspoon ground cumin plus any other spices you’d like such as turmeric or coriander
- Smoky paprika, to garnish
- Juice of 1 lemon
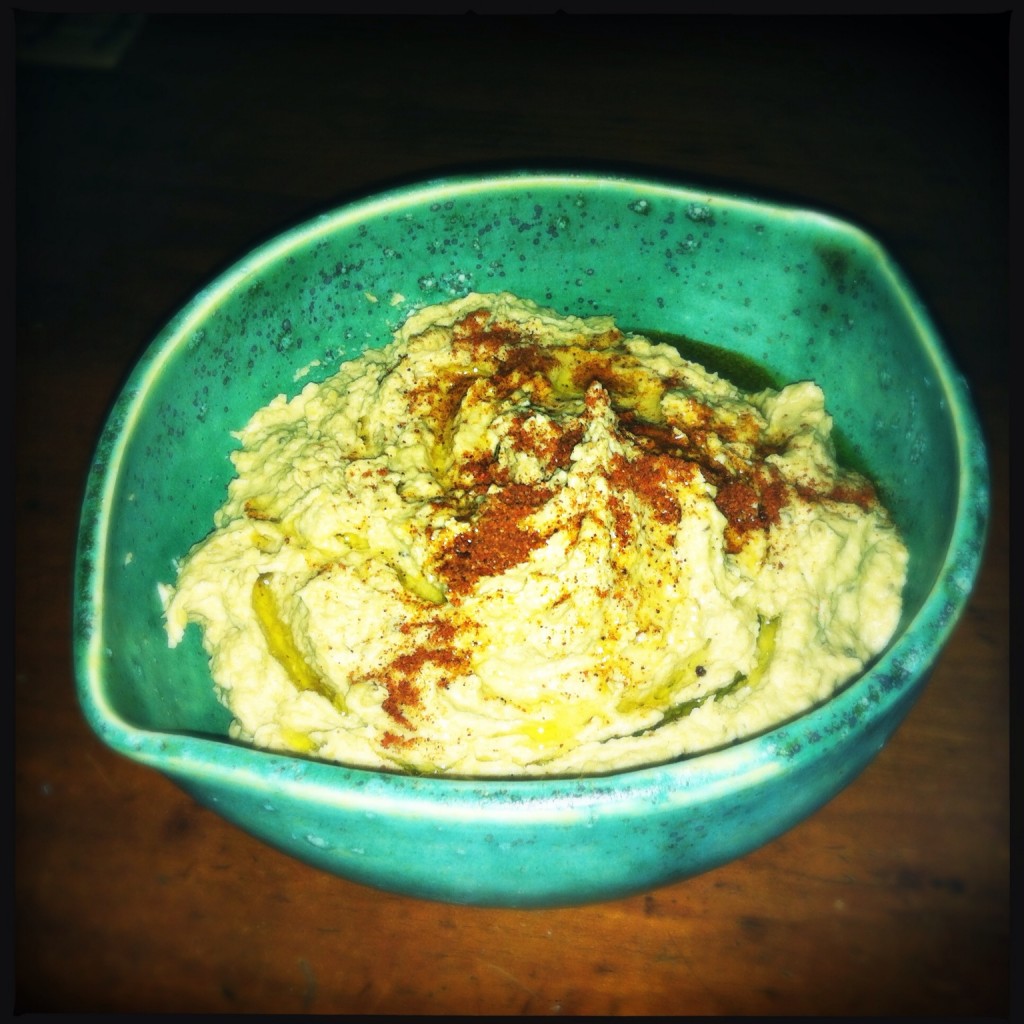
Place the cooked chickpeas in a blender along with the rest of the ingredients and blitz to combine until smooth, adding a little water if necessary.


To serve, drizzle with olive oil and sprinkle with smoky paprika.

Further reading:
http://www.westonaprice.org/food-features/be-kind-to-your-grains
http://www.westonaprice.org/food-features/living-with-phytic-acid
http://www.westonaprice.org/beginner-videos/proper-preparation-of-grains-and-legumes-video-by-sarah-pope
[fb_button]


